
How to create nested routes with Angular?
Learn how nested (child) routes work in Angular, why multiple router outlets are useful, and how to implement tabbed navigation in complex dashboards.

Alain Chautard
April 21, 2026
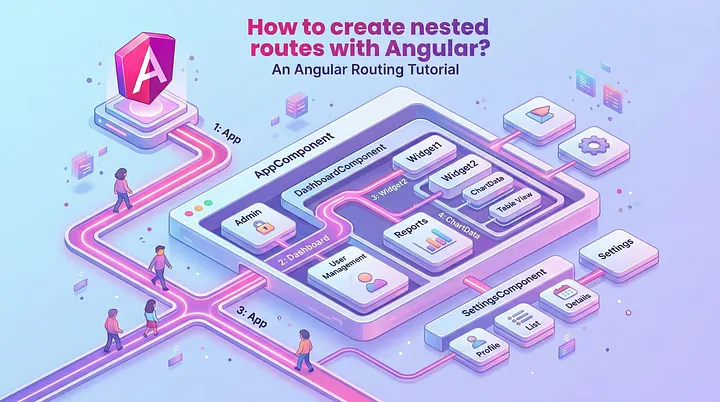
Nested routes, or child routes, can be used when multiple router outlets are present in an Angular application. Why would we have multiple router outlets in the first place? Let’s take an example.
Say you have an application with multiple screens (pages) that you can navigate to. One of these screens is a complex dashboard that includes a section with tabs. You could use the router to implement navigation within those tabs, using nested routes.

This means we have a main router outlet as follows in the App component:
      <div>
  <button type="button" routerLink=""><< Menu</button>
</div>
      <div class="tabs-container">
  <div class="tabs">
    <a routerLink="tab1" routerLinkActive="active">Tab 1</a>
    <a routerLink="tab2" routerLinkActive="active">Tab 2</a>
    <a routerLink="tab3" routerLinkActive="active">Tab 3</a>
  </div>

  <div class="tab-content">
    <router-outlet></router-outlet>
  </div>
</div>

The router config looks like this — using the children section for nested / child routing:
       {
    path: 'tabs',
    component: TabsComponent,
    children: [
      { path: '', redirectTo: 'tab1', pathMatch: 'full' },
      { path: 'tab1', component: Tab1Component },
      { path: 'tab2', component: Tab2Component },
      { path: 'tab3', component: Tab3Component }
    ]
  }
That config means that if the browser URL becomes /tabs, the TabComponent is displayed in the main router outlet, and the Tab1Component is displayed in the router outlet of TabComponent, because the empty child path redirects to /tab1, which then renders Tab1Component.
Then, if the browser URL becomes /tabs/tab3, the TabComponent is still displayed in the main router outlet, and Tab3Component is displayed in the router outlet of TabComponent.

This has three important benefits:
- You can create links that navigate to a specific tab or sub-section of any given screen
- Since the current “tab” depends on the URL, switching tabs can be done using the browser’s previous/next buttons. A full page refresh would display the same tab selected.
- A URL can be bookmarked to display the application in the same state with the same tab selected.
You can see the code of my example on Stackblitz here.
More certificates.dev articles
Get the latest news and updates on developer certifications. Content is updated regularly, so please make sure to bookmark this page or sign up to get the latest content directly in your inbox.

Cómo funciona realmente el bucle del trabajador de la cola
Domina las colas de Laravel comprendiendo qué ocurre entre bastidores cuando se envían y procesan las tareas. Esta guía analiza los trabajadores de colas, la serialización de modelos, los reintentos, las tareas fallidas, el encadenamiento y el procesamiento por lotes: conceptos clave para crear aplicaciones fiables y superar con éxito los exámenes de certificación de Laravel.

Steve McDougall
25 de junio de 2026

Primeros pasos con rstore en Vue
Una guía paso a paso sobre rstore, el almacén de datos reactivo para Vue con almacenamiento en caché normalizado, consultas tipadas y un sistema de complementos.

Reza Baar
24 de junio de 2026

Promise.withResolvers(): el patrón «Deferred» integrado
Promise.withResolvers() sustituye al patrón «deferred» manual en JavaScript. Una sola desestructuración, sin ejecutor, sin «let». ES2024, compatible con todos los entornos de ejecución modernos.

Martin Ferret
23 de junio de 2026